Key Highlights of How to Add a Skylight to an Existing Roof in Houston
- Installing a skylight can dramatically increase the natural light in your home, but it’s crucial to assess your roof’s suitability before starting.
- Factors like roof type, slope, and condition play a significant role in determining the feasibility and cost of skylight installation.
- Proper planning is essential for a successful skylight installation, from selecting the right model and placement to ensuring adherence to building codes.
- While the installation process involves precise cutting, sealing, and flashing, it’s highly recommended to hire professionals due to safety and expertise required.
- Regular maintenance, including cleaning and inspections, can prevent leaks and ensure your skylight continues to brighten your home for years to come.
Introduction
Adding natural light to your Houston home is a great way to enhance its beauty and comfort. One of the best ways to do this is through professional skylight installation by trusted Houston roofing contractors. Before moving forward, checking if your roof’s design can support a skylight is important. Understanding your roof’s structure and how it works with a skylight is the first step to creating a brighter, more inviting space.
Is It Practical to Install a Skylight in Your Existing Roof?
Installing a skylight in your existing roof can be practical if your roof structure and material allow for it. Before proceeding with the installation process, consider factors like roofing type, professional assessment versus DIY, and potential benefits of natural light.
Key Benefits of Installing Skylights
Enhance your living space with the beauty of natural light by installing skylights. Enjoy the benefits of increased natural light, which can positively impact your well-being by boosting mood and productivity. Skylights also enhance energy efficiency, reducing the need for artificial lighting during the day. The introduction of skylights can transform any room, making it feel more spacious and inviting. Additionally, the aesthetics of skylights can add value to your home, creating a modern and stylish ambiance. Embrace the benefits of skylight installation to elevate your living environment and reap the advantages of natural light in your daily life.
Assessing Your Roof for Skylight Installation
Before starting your skylight installation, you need to check if your roof is suitable. First, figure out what kind of roof you have. Is it a gable, hip, or a more complicated shape? Knowing your roof’s style is important for deciding where to place the skylight and what type of skylight will work best for bringing in light.
Next, look at the condition of your roof. Do you see any leaks, broken shingles, or weak spots? Fixing these problems first will help create a solid and leak-proof base for your new skylight.
Types of Roofs Suitable for Skylights
The shape of your roof is very important when choosing skylights for your home. Gable roofs, which are shaped like triangles, work well for putting in skylights. Hip roofs are a bit different. Their inward slopes make it necessary to think carefully about where to place the skylights.
You should also check the state of your roofing shingles. If your shingles are old or worn out, it makes sense to replace them when you install the skylights.
The best roof design for a skylight can hold it up well and make sure it is weatherproof. It should also match the style of your home. Take a close look at your existing roof and talk to experts to find out which types of skylights and placements are best for you.
Professional Assessment vs. DIY: What You Need to Know
While putting in a DIY skylight might look like a fun project, it’s important to think about the problems that could arise. Skylight installation needs accurate measurements, careful cuts, and a good understanding of roofing to keep it secure and stop leaks.
Having a qualified roofing contractor check your setup can make you feel better and reduce the chance of expensive mistakes. These experts have a lot of knowledge. They can spot possible issues with your structure, suggest the right type of skylight, and make sure your installation follows local building codes.
Don’t overlook how important experience is when changing your roof. Spending money on a professional assessment can help you have a successful and lasting skylight installation.
Planning Your Skylight Installation
Planning your skylight installation takes thought about different factors, not just if it fits your roof. First, figure out what you want your skylight to do. Do you need it to light up a dark area, help with airflow, or do you want it for both reasons?
Next, choose a skylight type. Your options are fixed, vented, or tubular. Make sure the size matches how much light you want and what looks good to you. It’s a good idea to talk to a pro. They can help you find the right size, style, and spot for the best results.
Choosing the Right Skylight Model
Choosing the right type of skylight is more than just about looks. It is also about making sure it works well and saves energy. Here are some important things to think about:
- Ventilation: Do you want fresh air? Or do you want a skylight that doesn’t open? Vented skylights can let in air, but they might need special sealing to keep out water.
- Energy Efficiency: Find skylights that have Low-E coatings. These help keep heat out. Also, think about where you place the skylight because it can affect how much energy you use.
- Local Building Codes: Check the rules in your area. Local building codes often set limits on size, require safety glass, and outline important installation details.
Talking to a good roofing contractor at the start will help you pick a skylight that fits your needs and the local rules.
Determining the Best Placement for Your Skylight
Strategic placement is key to maximizing the beauty of natural light streaming through your skylight. Consider these factors:
- Room Orientation: South-facing skylights capture the most sunlight, while north-facing options offer consistent, diffused illumination.
- Obstacles: Ensure the light shaft is free from obstructions, both inside and outside your home. Trees, vents, or dormer windows can impact light penetration.
- Interior Considerations: Before finalizing placement, consider furniture arrangements to avoid glare and ensure light falls where desired.
| Placement | Benefits | Considerations |
| South-facing | Maximum sunlight exposure | Potential for excessive heat gain, especially during summer months |
| North-facing | Consistent, diffused lighting | May not provide as much warmth as south-facing options |
| East-facing | Morning sunlight | May be too bright for bedrooms |
| West-facing | Afternoon sunlight | Can make rooms uncomfortably warm in the evening |
The Installation Process Explained
Installing a skylight is a careful process that needs skill and attention. Every step is important for a strong and weatherproof finish.
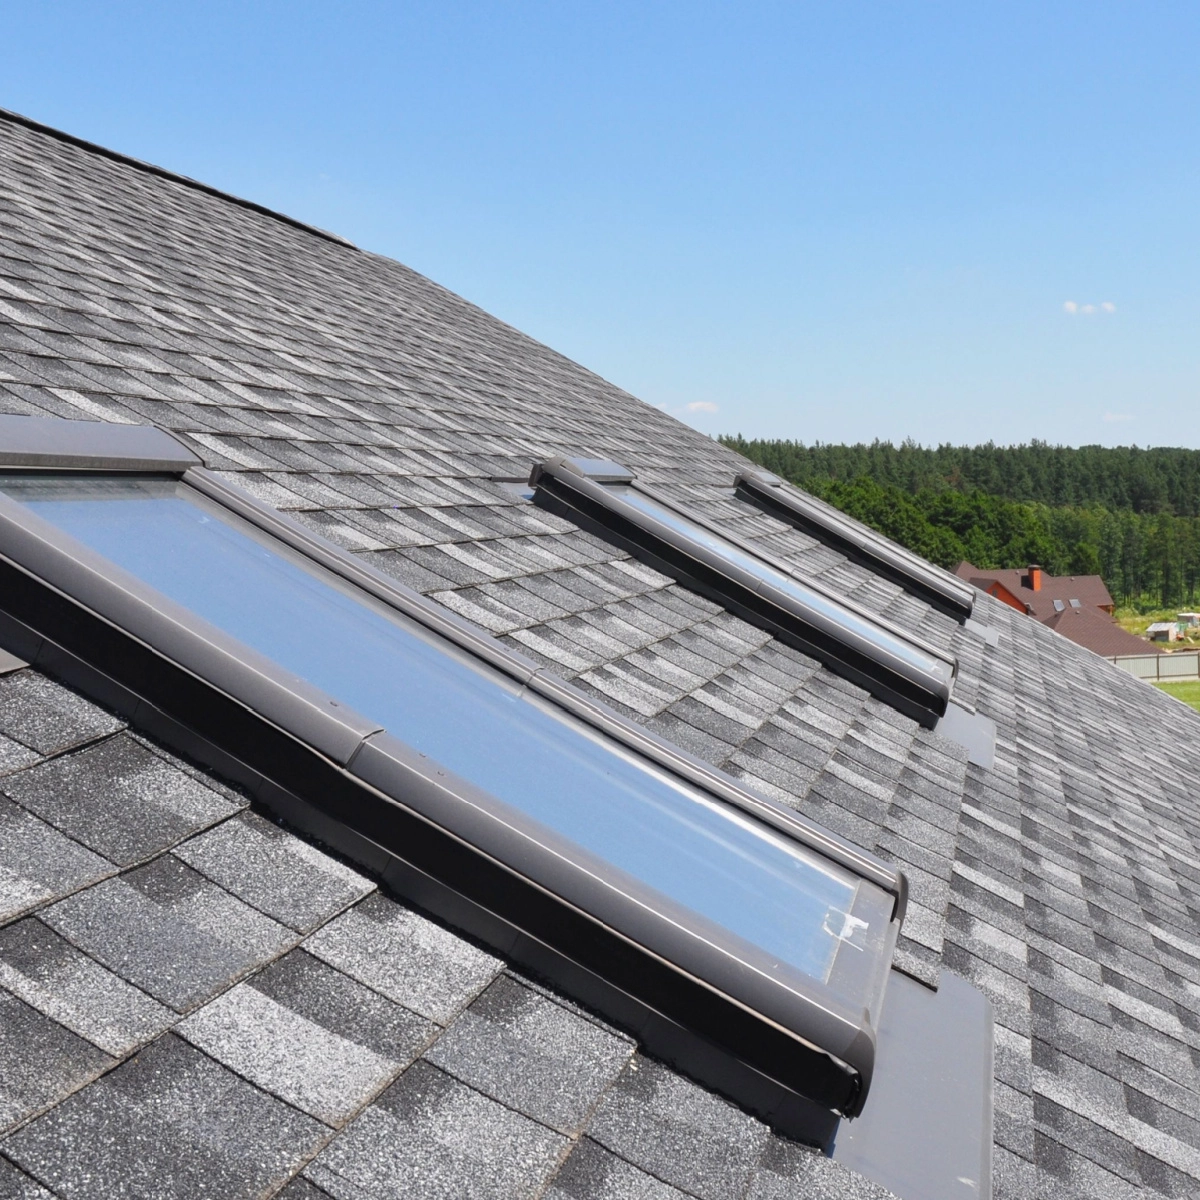
First, you mark where the skylight will go on the roof. Then, you take off the roofing shingles with care. Next, you make a precise cut in the roof decking and frame the rough opening to fit the skylight. You use special flashing methods to keep the area around the skylight waterproof and avoid leaks. At the end, you put the roofing shingles back around the skylight. This makes it fit nicely with the existing roof.
Tools and Materials Required for Installation
Proper tools and materials are very important for a good skylight installation. First, you need safety gear. This includes a fall protection harness and work gloves. A circular saw with a carbide blade is also essential for making clean and precise cuts for the roof opening.
Next, gather materials for framing and weatherproofing. You will need lumber to frame the rough opening. Roofing nails are needed to hold the skylight and flashing materials in place. Roofing shingles should match your existing roof. You will need special flashing pieces too, like step flashing, saddle flashing, and a sill pan. These pieces help to direct water away from the skylight.
Finally, use a chalk line to mark the right cut lines. A utility knife is useful for trimming roofing materials. Don’t forget to have measuring tapes, levels, and a caulk gun. These will help to make sure the installation is complete and looks professional.
Step-by-Step Guide to Installing a Skylight
The skylight installation process starts by marking the spot on the roof where the skylight will go. After you mark it, take off the roofing shingles in that area. Then, use a circular saw to cut the roof opening. Make sure to check your measurements twice. This will help ensure the opening exactly matches the skylight size.
After you prepare the roof opening, put the sill flashing in place. Make sure it goes beyond the sides of the opening. Next, carefully set the skylight into the opening. It should rest evenly on the sill flashing. Use roofing nails to attach the skylight to the roof framing.
Next, add step flashing around the sides of the skylight. Overlap each piece just like shingles to help direct water away. Then, place counter flashing over the step flashing to create a strong, weather-resistant barrier. Finally, put the roofing shingles back around the skylight. Make sure they overlap properly, and use roofing cement to seal any exposed nails.
Post-Installation: Ensuring a Leak-Proof Skylight
A well-installed skylight does more than just bring in light. It also needs to prevent leaks for a long time. This means you must pay close attention when installing flashing, which helps keep water out.
Using several layers is key. First, put a waterproof membrane under the skylight. Then, carefully add step flashing and follow it with counter-flashing. This setup creates a strong barrier against the weather. You should check the skylight regularly, especially after heavy rain or snow, to spot and fix any problems quickly.
Sealing and Waterproofing Your Skylight
Waterproofing is one of the most important parts of installing a skylight. Even a small gap can cause leaks, which can be a big problem. To stop water from coming in, you need to create several layers of protection.
Start by carefully putting a self-adhesive waterproof membrane around the edge of the roof opening. Make sure it goes a few inches beyond the skylight frame. This membrane is the first barrier against water getting under the flashing. Next, you will need to install the flashing parts. Use step flashing on the sides, sill flashing at the bottom, and saddle flashing at the top. These pieces overlap to help direct water away from the skylight.
Finally, use a high-quality sealant to seal all the seams and joints. This will help make sure that no moisture can get through. By following these waterproofing steps, you can be confident that your skylight will remain leak-free for many years.
Maintenance Tips for Long-Term Skylight Care
While a skylight put in by a professional needs little upkeep, being proactive can help it last longer and stop leaks. Regular checks are important, especially after heavy rain or snow storms.
Look at the inside ceiling near the skylight frame. Check for signs of water damage. This may include discoloration, paint peeling, or wet spots. Outside, examine the flashing around the skylight. Look for gaps, cracks, or loose nails. These might be spots where leaks could happen. They need quick attention. Also, keep the skylight clean and free from any junk. Leaves, branches, and dirt can hold moisture and cause seals to break down too soon.
By adding these easy upkeep tips to your routine, you can make sure your skylight continues to bring natural light and charm into your home for many years.
Brighten Your Home with a Skylight—Schedule Your Installation Today
Adding a skylight to your existing roof can be a great way to enhance your home if done correctly. Start by assessing whether your roof is suitable for the addition, then plan the installation with care. Working with professionals for your skylight installation in Houston ensures the job is done right, reducing the risk of leaks and extending the lifespan of your skylight.
A well-placed skylight can transform your living space by bringing in natural light and creating a more open feel. It also adds to your home’s functionality and aesthetic appeal. If you’re considering this upgrade, understanding step-by-step instructions on how to install a skylight can help you make informed decisions. Consulting experts can make all the difference, as they can guide you in selecting the right model and placement for optimal results.
Call Amstill Roofing today at (281) 612-8747 or visit us at 14125 Memorial Dr, Houston, TX 77079. We proudly serve neighborhoods across Houston and surrounding communities, offering expert skylight and roofing solutions tailored to your home. Schedule your consultation today and let us help bring natural light and beauty into your space with trusted care!
Related Articles & Helpful Resources
- Skylight Installation: How to Install a Skylight Step-by-Step – Learn the essential steps for a successful skylight installation, from preparation to sealing and finishing touches.
- Best Skylight Installation Near You in Houston – Find top-rated skylight installers in Houston for expert installation and high-quality craftsmanship.
- Why Amstill Roofing Is a Trusted Name in Roofing – Discover why Amstill Roofing is Houston’s trusted choice for skylight installations, roof repairs, and top-tier roofing solutions.