Key Highlights of How to Repair Downspouts Easily in Houston Homes
- This comprehensive guide provides a step-by-step approach to downspout repair, empowering homeowners to address common issues.
- Learn about the essential tools, materials, and safety measures necessary for successful downspout maintenance.
- Discover effective techniques for inspecting, removing, replacing, and sealing damaged downspout sections.
- Explore advanced repair solutions for underground downspout problems and severe clogs.
- Understand the importance of regular cleaning, maintenance schedules, and preventative measures to ensure optimal downspout performance.
Introduction
Maintaining a good gutter system is crucial for protecting your Houston home from water damage, and a key component of this system is the downspout. Downspouts help direct water away from your home’s foundation, preventing costly issues. For reliable solutions, consider professional gutter repair with Houston’s best roofing company to address common downspout problems, from minor leaks to more significant fixes. This guide also offers easy steps for beginner DIY enthusiasts to confidently tackle downspout repairs using a water hose and simple tools.
Understanding Downspouts: The Basics
Downspouts are an important part of managing rainwater. They help protect your home’s foundation, walls, and yard. Knowing how they work and the common problems they can have is the first step to keeping them in good shape.
When downspouts are installed right and taken care of, they direct water away from your home. This stops many issues like soil erosion, water in the basement, and damage to the foundation.
What Is a Downspout and Its Purpose?
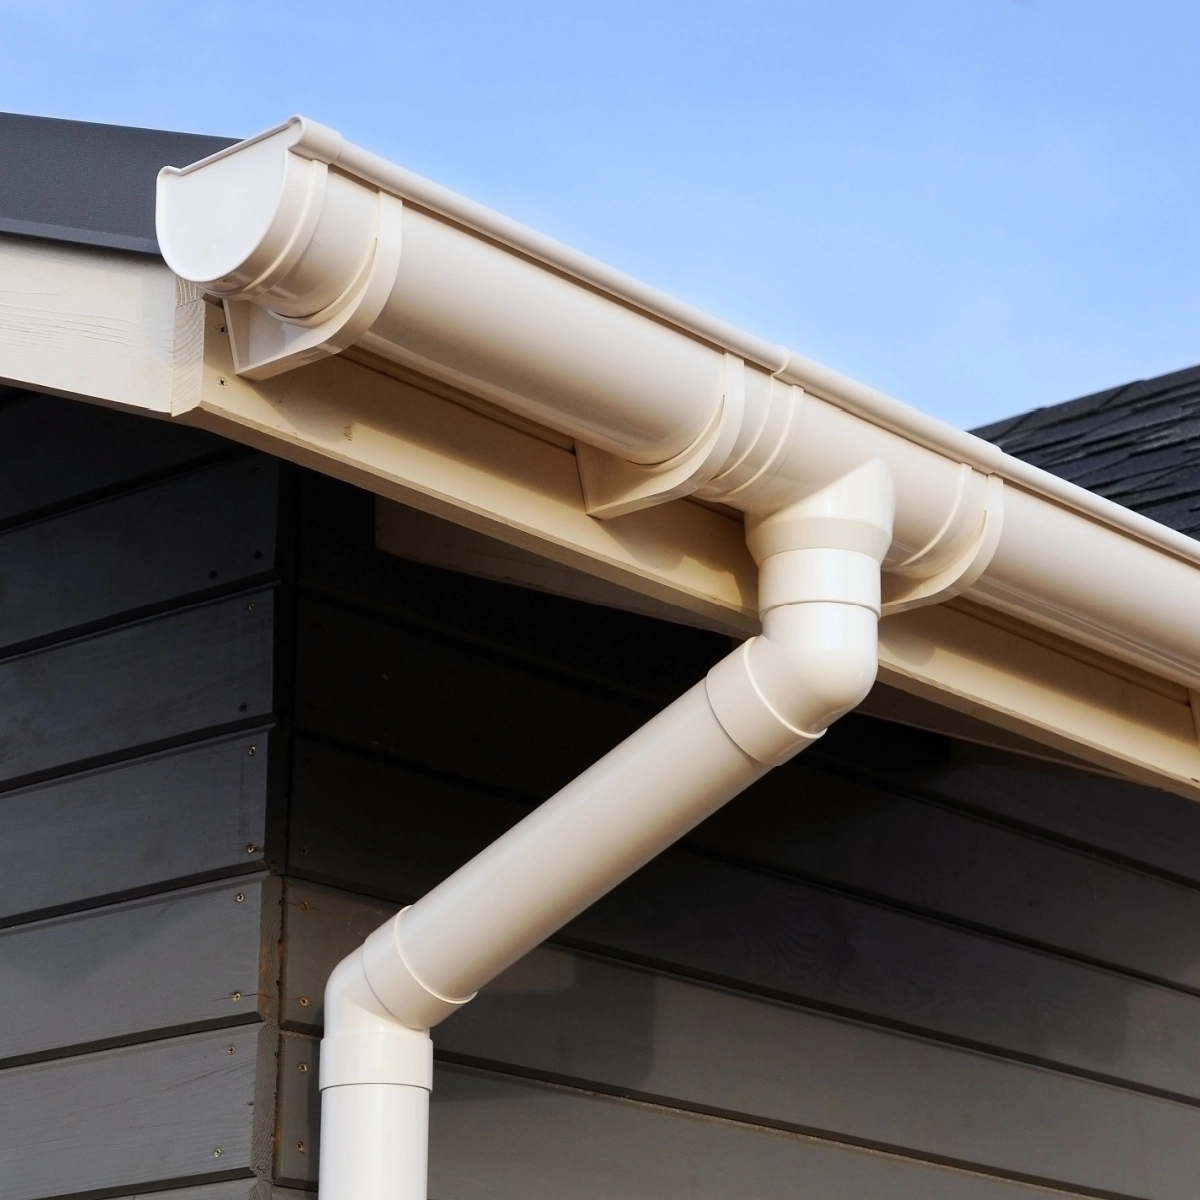
A downspout, which is also called a leader or conductor, is a pipe that moves rainwater away from a building’s roof and foundation. It is usually made of materials like aluminum, galvanized steel, or PVC. Downspouts are connected to gutters in specific places and are fastened to the outside walls using downspout straps.
The main job of a downspout is to keep water away from a building. When it rains, gutters collect the water and send it to downspouts. The bottom of the downspout directs the water to a drainage area or system far from the foundation.
Downspouts are important for keeping a building strong. They stop water from getting into the foundation. This helps avoid cracks, leaks, and other expensive damages. Seamless gutters are often used with downspouts. They create a continuous system that is resistant to leaks and helps manage water well.
Common Problems with Downspouts and Their Impact
Downspouts can have problems, just like any other part of your home. Common issues include clogs from leaves and debris. You might also see leaks at joints or seams. Sometimes, improper sloping can cause water to back up, and physical damage can happen from ladders or bad weather. It is important to spot these issues early to prevent more damage.
Clogged downspouts can lead to water overflowing. This can cause foundation problems, basement flooding, and erosion in your landscape. Leaks in a section of the downspout can leave water stains and may lead to wood rot or mold growth.
Fixing downspout problems quickly can help keep your home’s value and appearance. Gutter guards can help reduce debris buildup, but you still need to check and clean them regularly. Serious structural issues might need professional help, but many problems can be fixed by yourself if you have the right advice.
Preparing for Downspout Repair
Before you begin any downspout repair, make sure to collect all the tools and materials you need. This will help you work better and faster.
Safety is very important when you are on a ladder. Always wear gloves and safety glasses. It is also a good idea to have someone hold the ladder for you to keep it stable.
Essential Tools and Materials for Downspout Repair
Having the right tools and materials ready will make your downspout repair easier. Here’s a list of what you will need:
- Tape measure: It helps you find the right size for replacement parts.
- Safety glasses and gloves: These protect your eyes and hands.
- Sturdy ladder: This is for getting safely to the downspout.
- Garden hose: This will be used to check for leaks.
For some repairs, you might also need extra tools, like:
- Tin snips or hacksaw: These are for cutting downspout sections.
- Drill and drill bits: You use these for attaching new downspout straps.
- Screwdrivers: They are important for tightening existing screws or adding new ones.
Make sure you pick the right tools and materials that fit your downspout material. It could be aluminum, vinyl, or steel.
Safety Measures Every Beginner Should Follow
- Safety is very important when doing any home repair, especially when working up high.
- Fixing downspouts usually means using a ladder, so it’s essential to be careful to avoid accidents.
- First, use a strong ladder and make sure it is on flat, stable ground.
- Having a friend help hold the ladder can make it much safer.
- Also, wear the right safety gear. This includes safety glasses to keep your eyes safe from falling items and gloves to help you hold on better.
- Be aware of what is around you and don’t reach too far while on the ladder.
- These steps will make your working area safer.
A Beginner’s Guide to Downspout Repair
This simple guide will help you fix your downspout. It will show you how to handle common problems with confidence. Always put safety first. Take your time to make sure you do each step right.
With a bit of patience and the right method, fixing a downspout can be an easy project. You can save money by doing it yourself instead of hiring a professional.
Step 1: Inspecting the Downspout for Damage
The first step in fixing any downspout is to find the problem. Start by looking closely at the whole downspout. Check from the top where it meets the gutter to the bottom where it directs water away from your home. Focus on the joints, seams, and visible ends. Look for any damage like gaps, cracks, dents, or rust.
Gently touch the downspout to find any soft spots or loose areas. These can suggest hidden damage or corrosion inside. It can help to have someone run water through the gutter system while you watch the downspout.
This will help you see any water leaks or spots where water is not moving right. Knowing the specific issue will help you plan your repairs and fix the main problem effectively.
Step 2: Removing the Damaged Section
Once you find the damaged part, it’s time to take it out. Depending on how bad the damage is and what your downspout is made of, you may only need to replace the broken section. First, detach the downspout from the gutter or the piece above the damage.
Loosen or remove the bottom strap that holds the damaged part in place. Carefully take out the damaged section, using appropriate tools like tin snips or a hacksaw if you need to. If your downspout has fasteners like rivets, you will need a rivet gun or drill to take them off.
If the damage is too much or your downspout is old and weak, think about replacing the whole downspout. Different types of downspouts may have different ways to attach, so check the manufacturer’s instructions for help.
Step 3: Measuring and Cutting the Replacement Piece
Before you install the new section, measure the length you need with a tape measure. Make sure this measurement is accurate so it fits well. Mark the length on the new downspout section clearly for cutting.
When you cut the new downspout section, try to make a straight and clean cut. This is important for a watertight connection. You can use tin snips or a hacksaw based on the downspout material. If you have a PVC downspout, a PVC cutter will give you a cleaner cut.
Always remember that getting the right measurements and making precise cuts is very important for a good repair. Make sure to double-check your measurements before you cut. Use a straightedge to help guide your cutting tool for the best results.
Step 4: Installing the New Section
With the new section cut to size, you can start the installation. First, put a line of sealant or roofing cement on the inside edges of the cut ends of the downspout pieces. This will help make a tight seal when you add the new section.
Next, slide the new section in place. Make sure it covers the existing sections by at least two inches. If you have downspout slip joints, connect them properly for a strong fit. Then, use sheet metal screws to hold the new section in place.
Put the screws evenly to make sure it stays secure. If you are going into wood, use a drill bit to make a pilot hole. This will help stop the wood from splitting. Finally, reattach any downspout straps you took off, making sure they fit snugly against the wall.
Step 5: Sealing and Testing for Leaks
To ensure a repair does not leak, it is important to seal any gaps or seams left behind. Use a good amount of sealant or caulk around all joints to cover them completely. Pay special attention to the spots where the new section meets the old downspout and where the downspout connects to the gutter.
After the sealant has dried fully, it is time to check your work. Use a garden hose to pour water into the gutter system. Start with a slow flow and then increase it. Watch the repaired area closely for any leaks.
If you see any dripping, you may need to tighten screws or add more sealant. A good repair will have water flowing smoothly through the downspout and away from your home without leaks.
Advanced Downspout Repair Techniques
For tricky downspout problems, like drainage issues below the ground or hard-to-remove clogs, you might need specific methods. Let’s look at some advanced ways to solve these issues.
Keep in mind that fixing these problems may need special tools and skills. Always put safety first and get professional help if you are unsure about anything in the repair process.
Addressing Underground Downspout Issues
Underground downspout issues can be tricky to diagnose and repair. If you suspect a problem with your underground drainage system, such as a blockage or broken pipe, it’s best to start by locating the underground components.
A metal detector can help pinpoint the location of metal pipes. Once you’ve identified the general area, careful digging might be required to expose the underground drainage pipe for inspection and repair.
| Problem | Signs | Solution |
| Clogged pipe | Water backing up in the downspout, slow drainage, gurgling sounds. | Use a plumber’s snake or a garden hose to try and dislodge the blockage. |
| Broken or damaged pipe | Soggy patches in your yard near the downspout, signs of erosion, water leaks. | Excavate the area, replace the damaged section, and carefully backfill the trench. |
Techniques for Handling Severe Downspout Clogs
Clogged downspouts are a regular issue. This often happens after heavy rains or in the fall when leaves pile up. You can fix small clogs with a garden hose or a plumber’s snake. But for serious blockages, you need special methods.
If you have a strong clog that won’t budge with normal tools, try a pressure washer. Be careful with this, though. Too much pressure can cause significant damage to your downspouts, especially if they are made from thinner materials like aluminum.
Here are some extra tips to help you deal with tough clogs:
- Use a long, flexible tool like a drain auger to break up the clog from the top.
- Remove the downspout elbow joint to get to the clog more easily.
- If nothing works, you may need to take apart a section of the downspout to clear the blockage.
Maintaining Your Downspouts
Regular maintenance is important to stop problems with your downspouts and help them last longer. By doing some easy tasks, you can make sure your downspouts work well and reduce the chance of expensive repairs.
Here are some tips to keep your downspouts in great condition: clean them often, check them regularly, and take steps like putting in gutter guards.
Regular Cleaning and Maintenance Schedule
Establishing a regular cleaning schedule for your downspouts is important. This helps to prevent clogs and ensures good water flow. Aim to clean your gutters and downspouts two times a year, in spring and fall. This is when debris builds up the most.
When you clean, use a ladder to reach the gutters. Remove leaves, twigs, and any other debris that might have piled up. Then, use a garden hose to flush out the gutters and downspouts. This will help remove leftover bits.
Also, check your downspouts for any damage. Look for rust, cracks, or loose parts. If you see any problems, repair them quickly to avoid worse issues later. Think about placing a gutter apron or splash block at the bottom of your downspouts. This will help direct water away from your home’s foundation.
Preventing Future Downspout Problems
Cleaning your gutters regularly is very important. However, taking preventive measures can lower how often you deal with downspout problems. One good option is to install gutter guards, which are also known as leaf guards.
Gutter guards keep leaves, twigs, and other debris out of your gutters and downspouts. They come in many materials and styles. Make sure to pick one that fits your needs and budget.
Another way to prevent issues is to ensure your downspouts are installed and maintained correctly. This means having the right slope for water to flow well. Also, check that all connections, like the drop outlet and downspout elbows, are tight and do not leak.
Keep Your Downspouts in Top Condition—Schedule Professional Services Today
Proper maintenance of your downspouts is critical to protecting your home’s foundation and ensuring effective water drainage. Regularly inspecting, repairing, and maintaining your downspouts helps prevent costly water damage and keeps your property in excellent shape. If your gutters are sagging, addressing the issue with simple DIY solutions for sagging gutters can enhance the overall functionality of your drainage system.
Overflowing gutters are another common issue that can impact your downspouts. Knowing how to resolve overflowing gutter problems effectively ensures water is properly redirected, reducing the risk of damage to your home. Following these steps not only prolongs the lifespan of your gutters and downspouts but also helps maintain your home’s structural integrity.
When the job feels overwhelming or you want to ensure professional results, don’t hesitate to contact experts for assistance. Your home deserves the best care, starting with a well-maintained gutter system that keeps it safe and sound.
Call Amstill Roofing at (281) 612-8747 or visit us at 14125 Memorial Dr, Houston, TX 77079. We proudly serve neighborhoods across Houston and surrounding communities with expert gutter and roofing solutions tailored to your needs. Schedule your consultation today and let us help protect your home with trusted care!
Related Articles & Helpful Resources
- Sagging Gutter Repair: Simple DIY Guide – Learn easy DIY methods to fix sagging gutters and ensure proper water drainage to protect your home.
- Gutters Overflowing? Here’s What You Can Do to Fix It – Discover practical solutions for overflowing gutters, from cleaning to repairs, to prevent water damage and leaks.
- Best Gutter Repair Houston TX Services – Find top-rated gutter repair professionals in Houston who can quickly address leaks, sagging, and drainage issues.
- Why Amstill Roofing Is a Trusted Name in Roofing – See why Houston homeowners trust Amstill Roofing for expert gutter repairs, replacements, and top-tier roofing services.